
Masking is one of those skills that separates a decent-looking Gunpla from a truly jaw-dropping display piece. If you’ve ever tried to paint two different colours on the same part and ended up with messy, blurry edges — you need this guide. Gunpla masking lets you paint sharp, clean colour separations that make your kits look like they came straight out of an anime. The good news? It’s easier than it looks, and once you nail the basics, you’ll want to mask everything. Here’s everything Malaysian builders need to know about masking in 2026.
What Is Masking and Why Do Gunpla Builders Use It?
Masking is the process of covering sections of your Gunpla parts that you don’t want painted, so only the exposed areas receive colour. Think of it like painting a room and taping off the edges before you roll — same idea, just on a much smaller, more precise scale.
In Gunpla, masking is most useful when you want to:
- Paint two different colours on the same part (e.g., a white shoulder pad with a red stripe)
- Protect already-painted areas while applying a new coat
- Reproduce the exact colour separations from a kit’s box art
- Create custom camo patterns or gradient fade effects
Without masking, your only options are hand-brushing each colour (which can get sloppy), or relying on Gundam markers. Both have their place, but masking combined with spray cans or an airbrush produces the sharpest results. Once you’re comfortable with panel lining, top coat, and nub removal, masking is the natural next step in your modelling journey.
What You Need: Masking Materials for Gunpla
You don’t need a huge toolkit to start masking. Here’s what every beginner should have ready before they open a paint can:
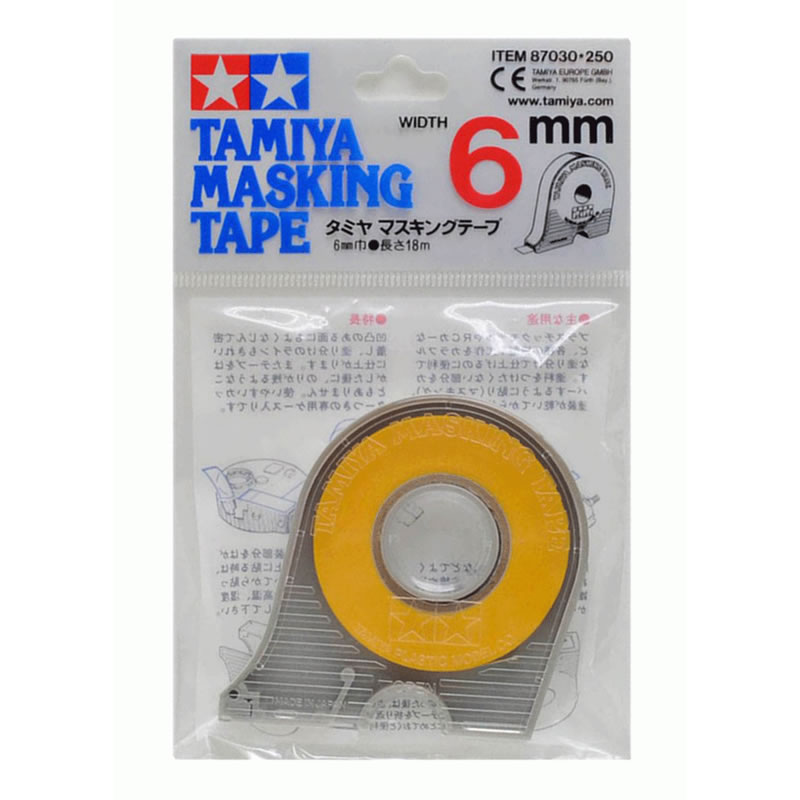
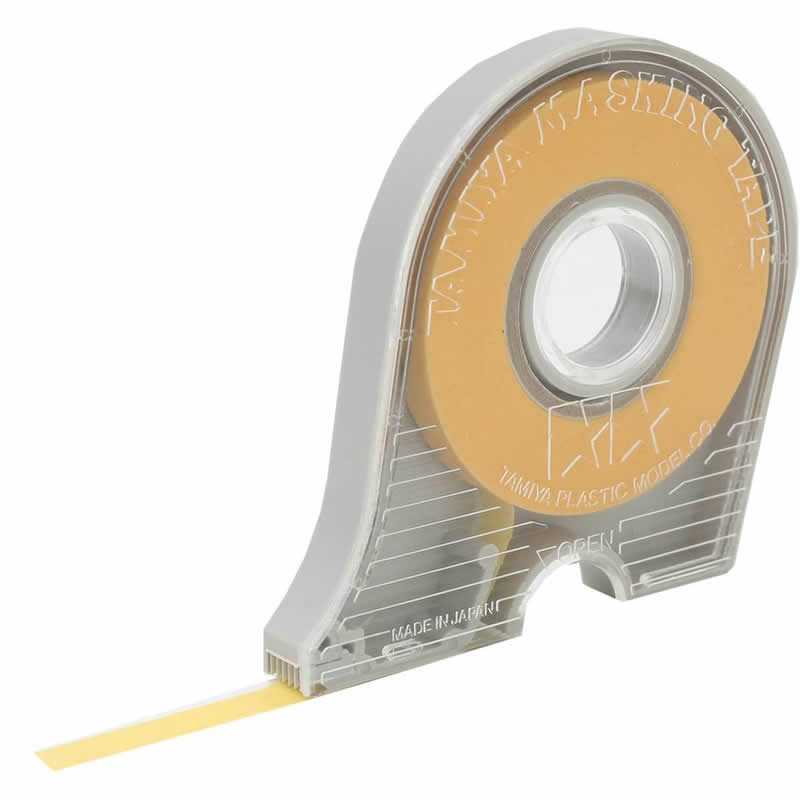
1. Tamiya Masking Tape (6mm) — This is the gold standard for Gunpla masking. Tamiya tape is thinner than hardware store tape, has a lower-tack adhesive that peels cleanly without damaging paint, and is thin enough to bend around gentle curves. The 6mm width is perfect for tight panel lines and detail work. You can grab it at Gundam.my for a very affordable price.
2. Tamiya Masking Tape (18mm) — Once you’ve defined your edges with the 6mm tape, use wider tape to fill in and cover larger areas quickly. This stops you from wasting metres of your precision 6mm tape on flat coverage sections.
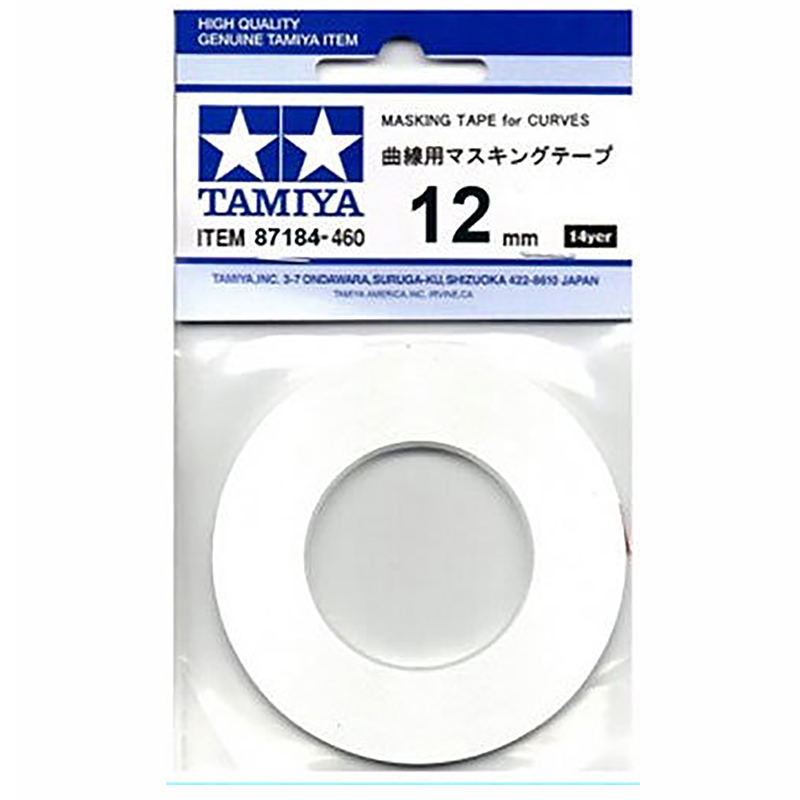
3. Masking Tape for Curves — Standard straight-edged tape struggles around circular vents, thruster bells, and organic shapes. Tamiya’s specialised curved masking tape has micro-perforations that allow it to follow contours smoothly without lifting or wrinkling.
4. Sticky Tack or Silly Putty — These are your secret weapons for masking irregular organic shapes that tape simply can’t handle. Press a lump of sticky tack over the area you want to protect, press it firmly to seal the edges, and paint over the top. Because it’s oil-based, it won’t damage your existing paint underneath.
5. A sharp hobby knife or scissors — For cutting tape cleanly along panel lines and trimming excess tape into the exact shape you need.
Step-by-Step: How to Mask Your Gunpla Parts
Ready to get started? Here’s the process broken down into simple steps:
- Paint your base colour first. Always paint the lighter colour first (e.g., white or yellow), as dark colours are easier to mask over. Let the base coat fully dry before masking — at least 24 hours for lacquers, or follow the paint manufacturer’s instructions.
- Define your edge with 6mm tape. Carefully run a strip of Tamiya 6mm tape along the exact edge where your two colours meet. Follow panel lines where possible — they’re perfect natural guides for masking boundaries. Press the tape down firmly with your fingernail or the back of a tool to ensure good adhesion and no paint bleeding underneath.
- Cover the rest of the area. Use wider masking tape, newspaper, or even kitchen foil to cover the larger sections you want to protect. This doesn’t need to be precise — it just needs to stop overspray from reaching those areas.
- Paint your second colour. Apply your second colour in thin, even coats over the exposed area. Don’t flood it — two or three light passes produce much better results than one thick coat, and they reduce the risk of paint seeping under the tape edges.
- Remove the mask while the paint is still slightly tacky. This is the critical step most beginners get wrong. Don’t wait until the paint is fully cured. Remove the tape when the paint is dry to the touch but still slightly fresh — within 30–60 minutes of your final coat. Pull the tape back at a 45-degree angle, slowly and steadily, to get the cleanest possible edge.
- Clean up any bleed. If a tiny bit of paint snuck under the tape, don’t panic. A Gundam marker or a small brush dipped in the correct paint colour can touch up any imperfections.
Common Beginner Masking Mistakes (and How to Avoid Them)
Masking looks easy in theory but there are a few classic beginner slip-ups that produce blurry lines or paint damage. Here’s what to watch out for:
Masking over wet or uncured paint — If your base coat hasn’t fully dried, the masking tape adhesive will pull the paint off when you remove it. Always, always let paint cure properly before masking over it.
Not pressing the tape edge down firmly — If there’s even a tiny gap between the tape and the part surface, paint will bleed underneath. Use the back of your fingernail to burnish the tape edge down, especially around curves and recesses.
Using hardware store masking tape — Standard blue or beige painter’s tape from the hardware store is too thick, too sticky, and too inflexible for Gunpla. It leaves messy adhesive residue and tears fragile painted surfaces when removed. Stick with Tamiya or other modelling-grade masking tape.
Waiting too long to remove the tape — Fully cured lacquer paint can crack or chip when tape is pulled off. Remove your mask during that sweet spot when the paint is dry to the touch but not fully hardened.
Applying paint too thick in one pass — Thick paint is more likely to seep under tape edges. Multiple thin, misty coats are your best friend when painting over a masked area.
Advanced Masking Techniques to Try Next
Once you’ve mastered basic tape masking, here are some techniques to level up your Gunpla game:
Liquid masking fluid — Brushable liquid masks like Tamiya Masking Sol create a peelable latex film over your parts. They’re ideal for masking very small, detailed areas like sensor lenses, thruster interiors, and fine mechanical details where tape simply can’t reach. Brush it on, let it dry, paint over it, then peel off the dried mask with a toothpick or tweezers.
Camouflage masking with sticky tack — For a natural-looking camouflage effect with soft, irregular edges, roll your sticky tack into thin sausage shapes and lay them on the part in random patterns before spraying your second camo colour. The soft tack edges create a slightly feathered edge — perfect for military-style weathered Gunpla.
Multi-stage masking — For kits with three or more colours on a single part, work from lightest to darkest, masking and painting each colour in sequence. This approach takes patience but the results can look absolutely incredible — especially on larger MG or PG kits.
Where to Get Masking Supplies in Malaysia
All the masking tape and tools mentioned in this guide are available right here at Gundam.my’s Masking Tape section. We stock Tamiya masking tape in 6mm, 10mm, and 18mm widths, including versions with handy dispensers so you can tear clean lengths quickly without wrestling with the roll. We also carry the curved masking tape for those tricky round surfaces that straight tape can’t handle.
If you’re just getting started, grab the Tamiya 6mm and 18mm widths first — those two cover probably 90% of all masking jobs you’ll ever encounter on HG and MG kits. As you advance into more complex multi-colour builds, the curved tape and liquid masking fluid become your next essential additions to the tool drawer.
Wrap Up: Masking Is the Gateway to Pro-Level Gunpla
Masking might seem intimidating when you first read about it, but after your first successful sharp colour separation, you’ll wonder why you ever painted without it. The key is patience — let your paint dry properly, press your tape edges down firmly, and remove the mask at just the right time. Do those three things consistently and your kits will start looking like something straight off the competition shelf.
If you’ve been working through our other Gunpla guides on panel lining, top coat, nub removal, and weathering, masking is the perfect next technique to add to your skill set. It opens the door to fully custom colour schemes, and that’s where Gunpla building truly becomes your own creative expression.
Ready to dive in? Shop our full range of masking tapes and modelling tools at Gundam.my and get your next build started today.