
August 23, Selangor, Hi Gundam fan, try my first self-made Gundam modelling tutorial here, I just purchased SEED DESTINY NO. 22, Vent Saviour Gundam scaled 1/100, and used this as a modeling subject.
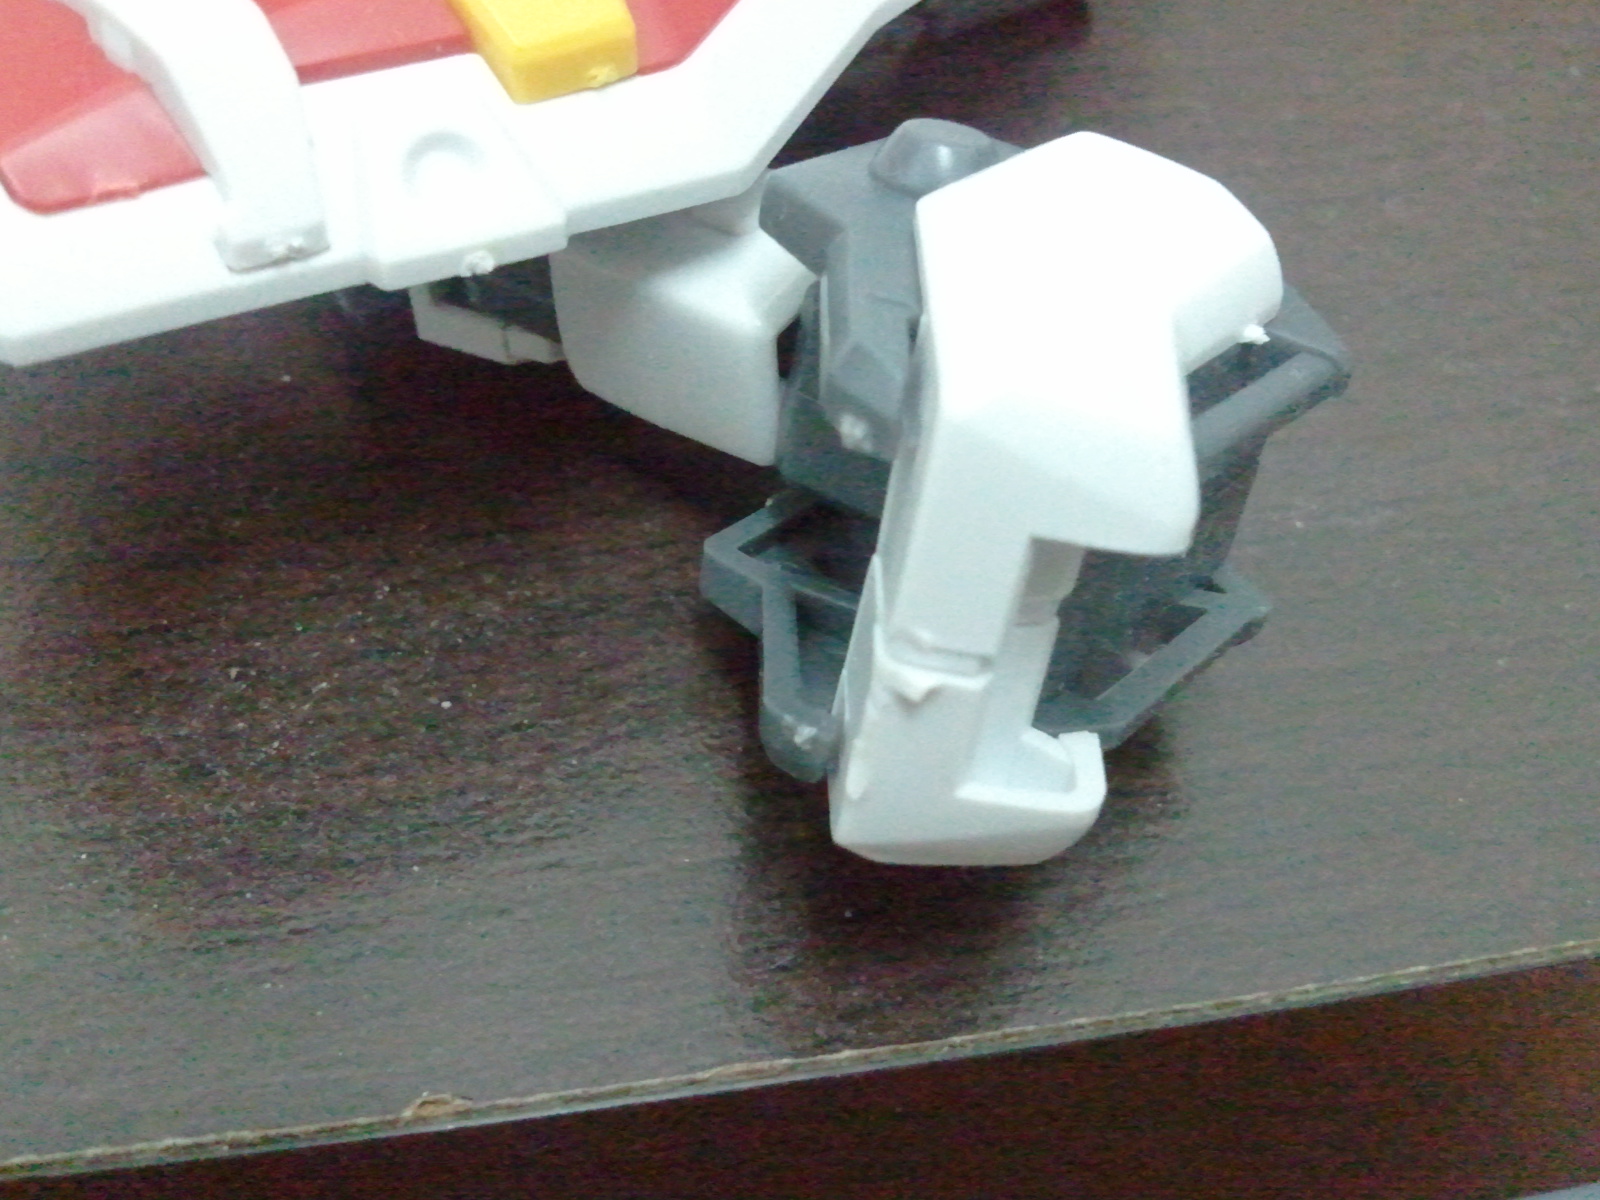
Would like to do some comparison before I proceed further, below is a snapshot of the arm of Aile Strike Gundam scaled 1/100. Without the side cutter involved, I actually am using a nail cutter. =.=||
Then, now I would like to showcase how to properly detach Gundam part E6 from SEED DESTINY NO. 22, Vent Saviour Gundam scaled 1/100 using a side cutter. It should took you a few dollar to afford it, I took a package of it.

Cutting by spruces itself is wrong as you might have a swallow sign on the surface, it’s advised that you should cut on the intersection of the gates and spruces, and have it cut the second time using this knife again to clean the sign further. If possible, try to cover the swallow sign using a paintbrush, however I not have it. That’s why I feel like half ton water. :(.
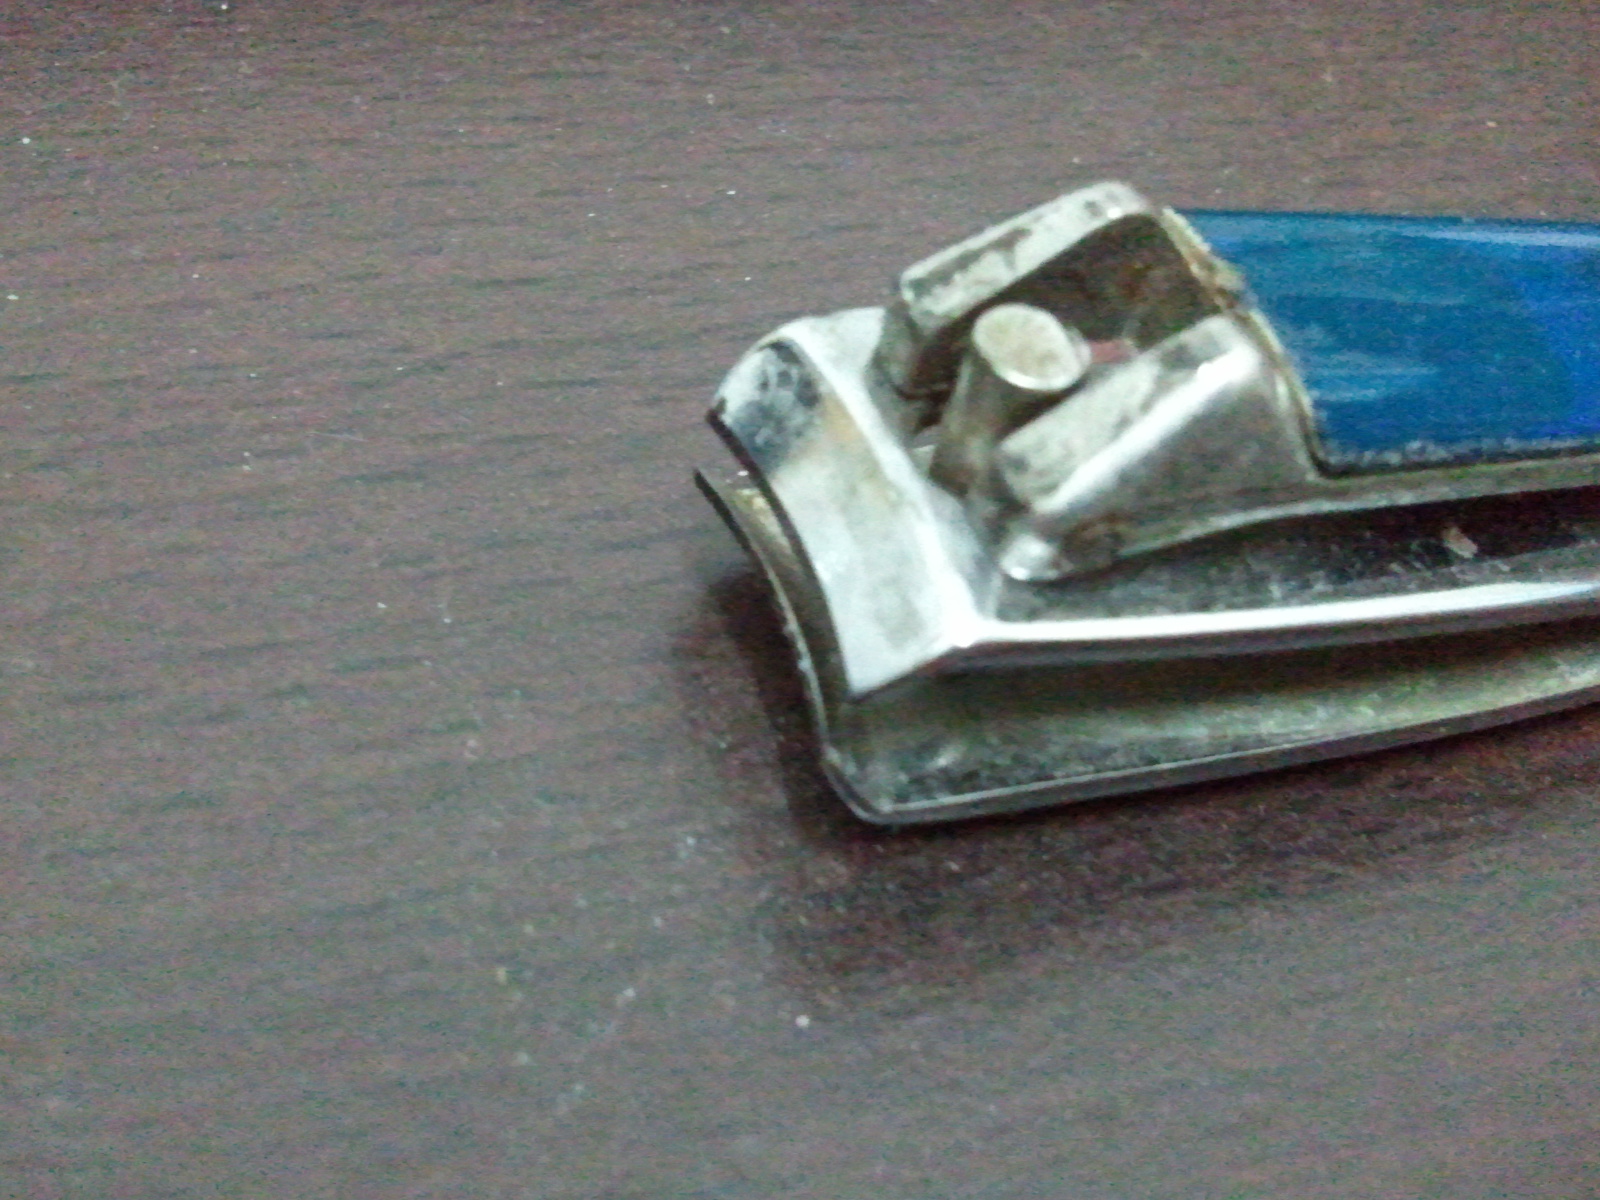
So why is it you would ask to buy a side cutter rather then a NAIL CUTTER? You can see from the above photo the mouth of the nail cutter is curved edge, while the side cutter’s is flat edged. This makes the cutting of spruces more easily as you hold tight and cut it.
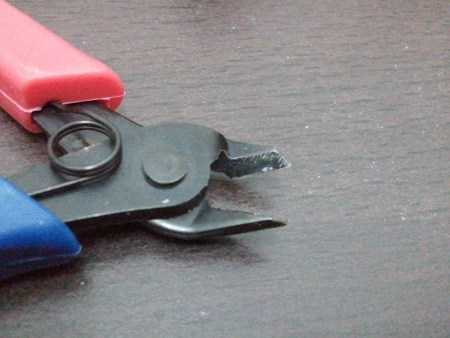 |
| Notice that the side cutter’s mouth is actually flat edged. |
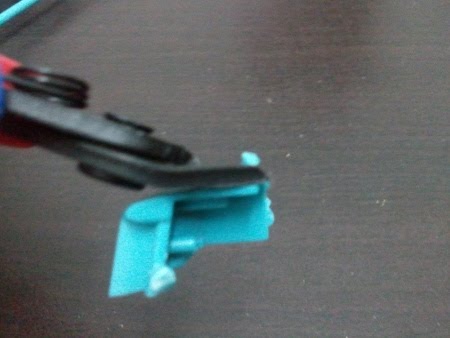
The second cut.
Well, I still yet to purchase a paint brush to touch the sign on it’s chest. Guess I will write until here and keep it short, and most of all, hope you guys give comment for me to further improve my writing skills and story telling skills.
Alright, for you guys who really can’t wait for the next story telling, perhaps it would be best if you have a look at this video, it’s pretty complete in the sense too. Enjoy the show.~ & feel free to walk around our website http://gundam.my